Create Windows Server 2016 VM on VMware Workstation
Windows Server 2016:
Recently Microsoft has released Technical Preview 5 of its Windows NT family based operating system Windows Server 2016. It contains lot of new features like Nano Server, Windows Containers, Storage Space Direct, Storage Replica and Hyper-V updates. In additions to that some enhancement in Windows Networking too. Microsoft has also changed the licensing with Windows Server 2016. As a result customers have to purchase Windows server 2016 license per-core based rather than per-socket based.
Minimum System Requirements:
- 1.4 GHz 64-bit processor with NX, DEP and LAHF/SAHF support
- 800 MB RAM (In case of bare-metal 512 MB ECC)
- 32 GB disk space
- Gigabit Ethernet Controller
Method of Procedure (MOP):
Here is the step by step procedure of creating Windows Server 2016 preview 5 virtual machine on VMware Workstation:
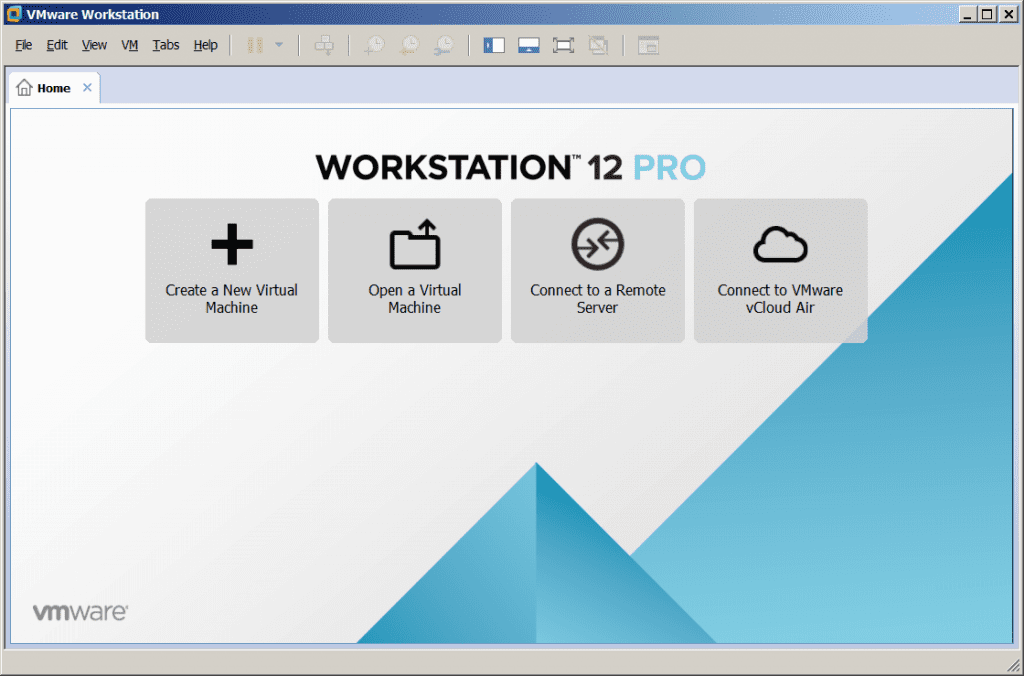
- First of all open VMware Workstation and click on Create a New Virtual Machine
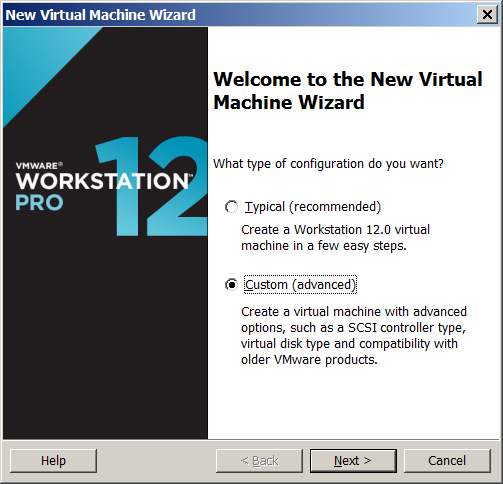
- Then select Custom (Advanced) option in the next window and click on Next.
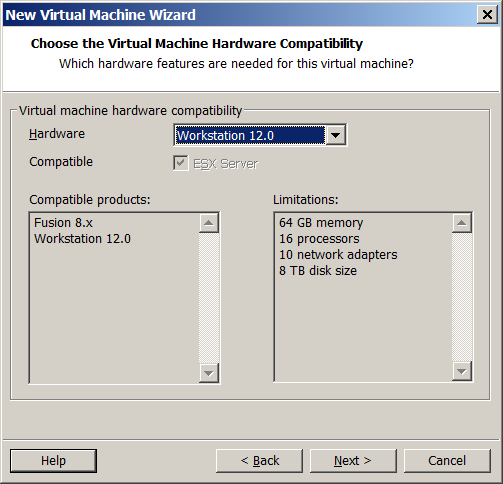
- Select Hardware version Workstation 12.0 in Virtual Machine Hardware Compatibility section and click on Next.
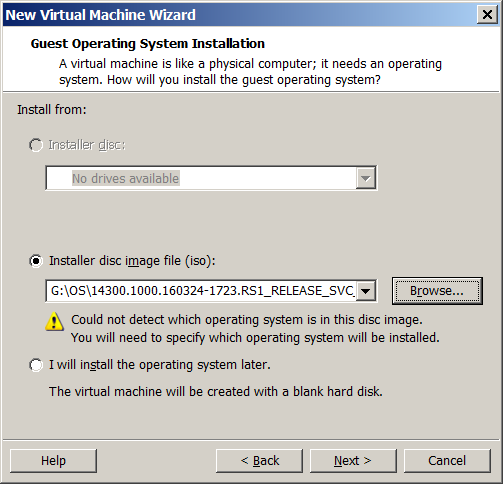
- On the next window locate the Window server 2012 ISO file by clicking on Browse, select the saved ISO file and click Next.
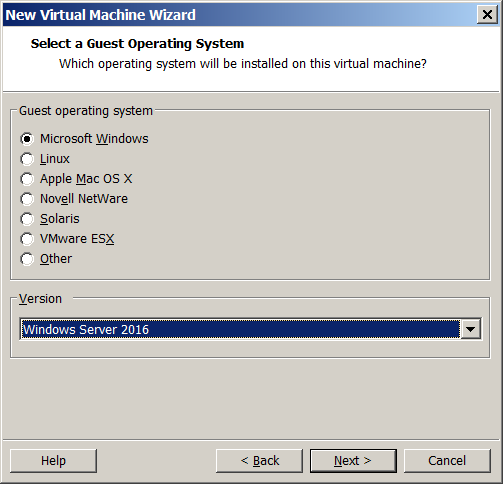
- On the next window, select Microsoft Windows radio button and Windows Server 2016 in the version dropdown list, then click on Next.
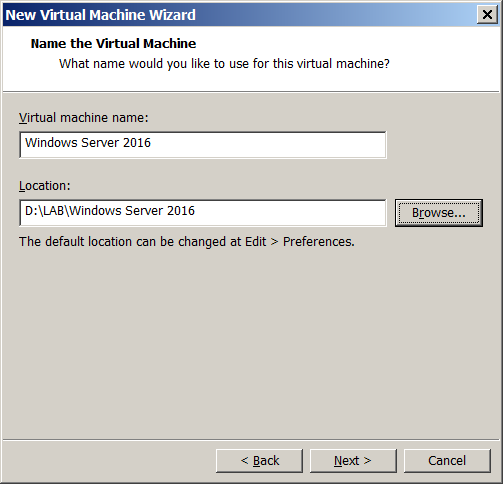
- In the next window enter virtual machine Name and Path of the folder where you want to store the virtual machine installation files, click Next.
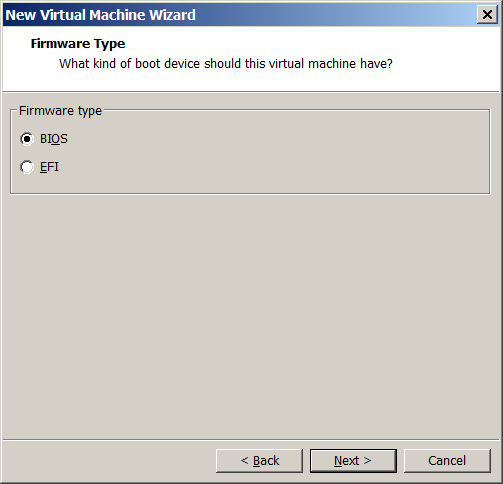
- Select BIOS in Firmware Type and click Next
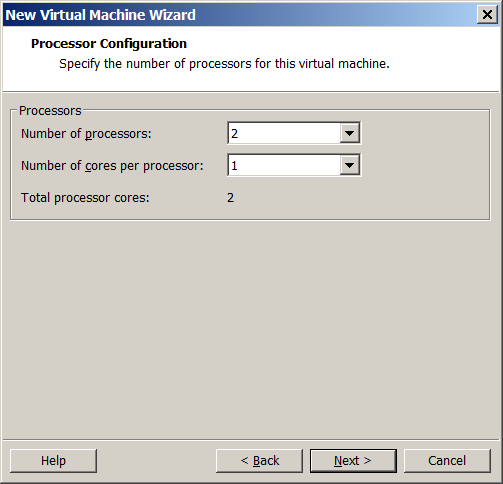
- Give the Number of Processor and Cores per Processor in the next window.
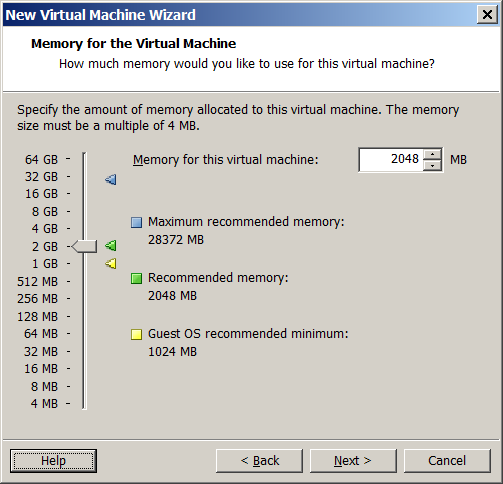
- Assign the Memory (virtual RAM) to the virtual machine (in multiple of 4 MB) and click Next.
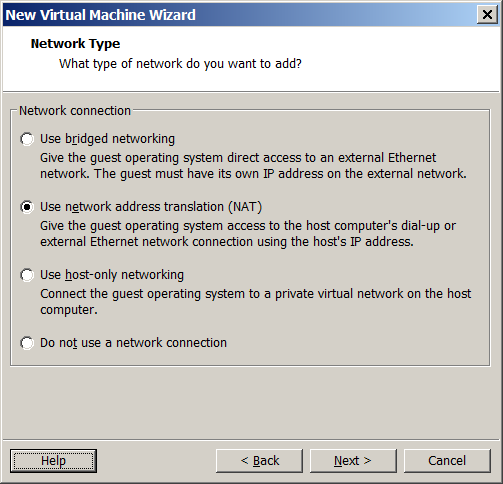
- Select the NAT option in Network Type window (For more info please see Virtual Networking in VMware Workstation post), click Next.
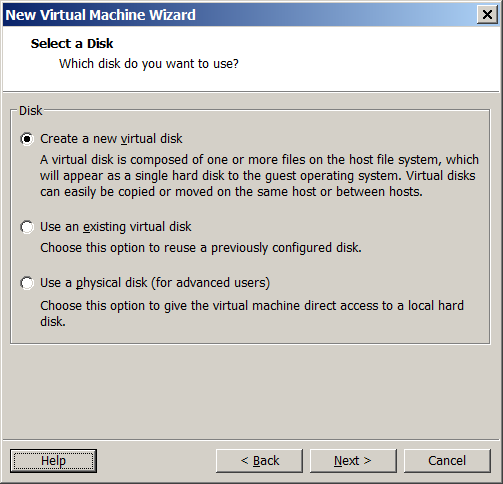
- Next window would be “Select a Disk” select Create a new virtual disk and click on Next.
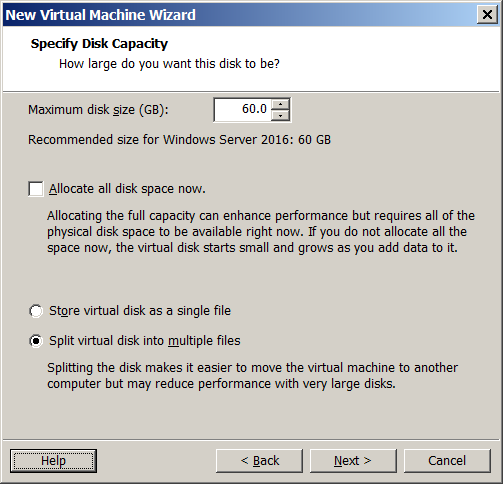
- On the next few window select disk type SCSI, desired Maximum Disk size, I/O Controller Type LSI Logic SAS and leave all setting to defaults and click Next.
- Now virtual machine is ready to install. Hence review the settings and if you want to change please click on Customize Hardware otherwise click Finish button.
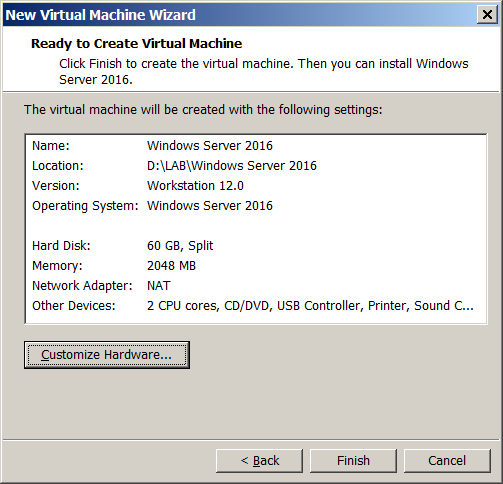
Finally after clicking on Finish button Windows server 2016 virtual machine will be created. Now its turn to boot this virtual machine and install Windows Server 2016 on it.
I will explain those steps in my next blog: Installing Windows Server 2016 Virtual Machine on VMware Workstation
Enjoy 🙂



Hi Sir
Can we install the same machine in VMWare workstation 8.
Also about windows server 16, can we create radius or tacacs server over it.
Thanks