Install VMware ESXi 6.0
VMware ESXi 6:
VMware ESXi is the Bare Metal (type 1) hypervisor from VMware. It means it does not require any Operating System layer between bare metal hardware since it can be installed directly on the hardware. To install VMware ESXi 6 please ensure that host system should meet the below minimum system requirements:
System Requirements:
- Hardware must be compatible with VMware HCL
- Two processor cores
- The NX/XD bit for the CPU must be enabled in the host BIOS.
- At-least 4 GB memory however 8 GB is recommended
- one Fast Ethernet or Gigabit Ethernet Network controller.
- 4 GB disk space (recommended) for installation and
- 4 GB additional disk space for scratch partition.
If your host system meets the above requirements you can proceed using below step by step installation guide:
Method of Procedure (MOP):
- First of all arrange the bootable CD/DVD ROM of VMware ESXi or Create the bootable USB drive using any available utility. In my case I used “Rufus”.
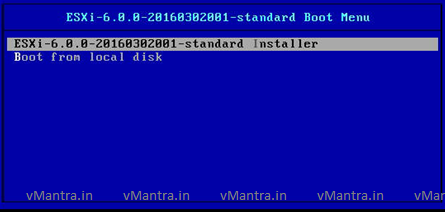
- Boot the system using bootable disk/drive. As soon as you boot the system ESXi will start loading in the main memory.
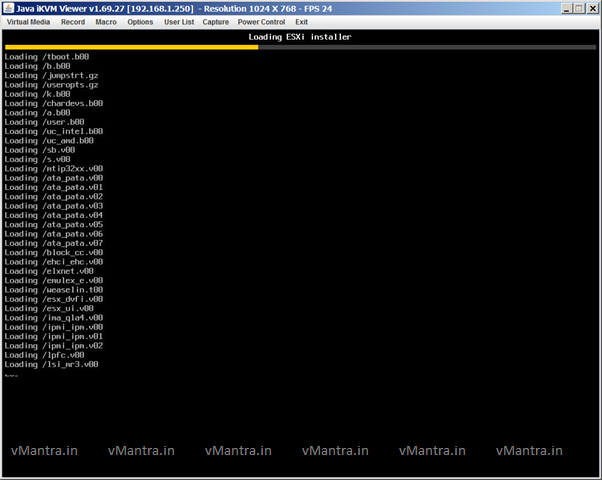
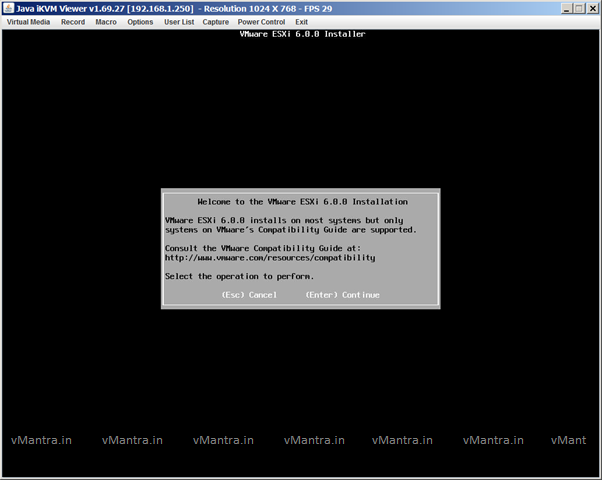
- Just after loading, a welcome screen will be displayed, Press Enter to Continue
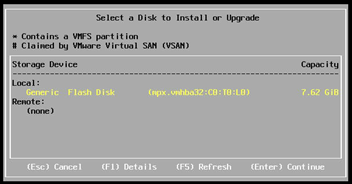
- On the next page select a Disk to install or Upgrade ESXi, In the below example I am using 8 GB flash drive, in order to continue Select Disk and Press Enter
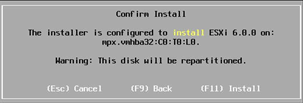
- It is going to format the selected disk with this intention it will ask for the Confirm Disk Selection only if you are sure press Enter
- On the next few windows select the Keyboard Layout and assign root password, when it reach the Confirm Install page press F11 to start installation.
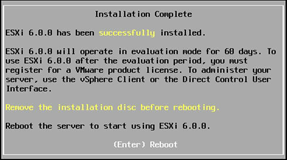
- VMware ESXi 6 installer will start the installation and completion time depends on the host system RAM. Eventually it will show Installation Complete page and you need to press Enter for Reboot the ESXi host.
Note: Please remove the installation media before rebooting otherwise re-installation can happen.
- Once host system rebooted you will see ESXi DCUI (Direct Console User Interface). Initially it takes management IP from DHCP server but in case of there is no DHCP server in the network it will show 0.0.0.0 IP address.
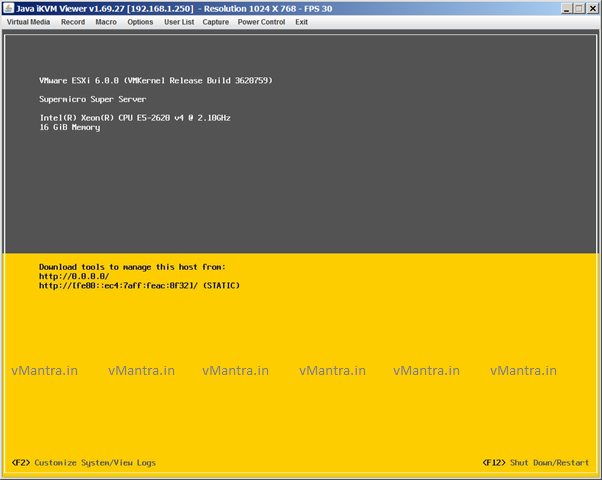
- Finally to configure host management IP address press F2, here it will ask for root password. Enter the root password which you have assigned during installation. As soon as you assign the root password it will open the System Customization screen where in Configure Management Network you can assign or update the management IP address.
Conclusion:
I have covered the ESXi 6 installation on bare metal however you can install it on a virtual machine too. There are many other settings in DCUI mode than management IP address configuration but I have written about these configurations in my next post.
Enjoy 🙂

